No-Knead Country Loaf: A Beginner Recipe with Overnight Fermentation
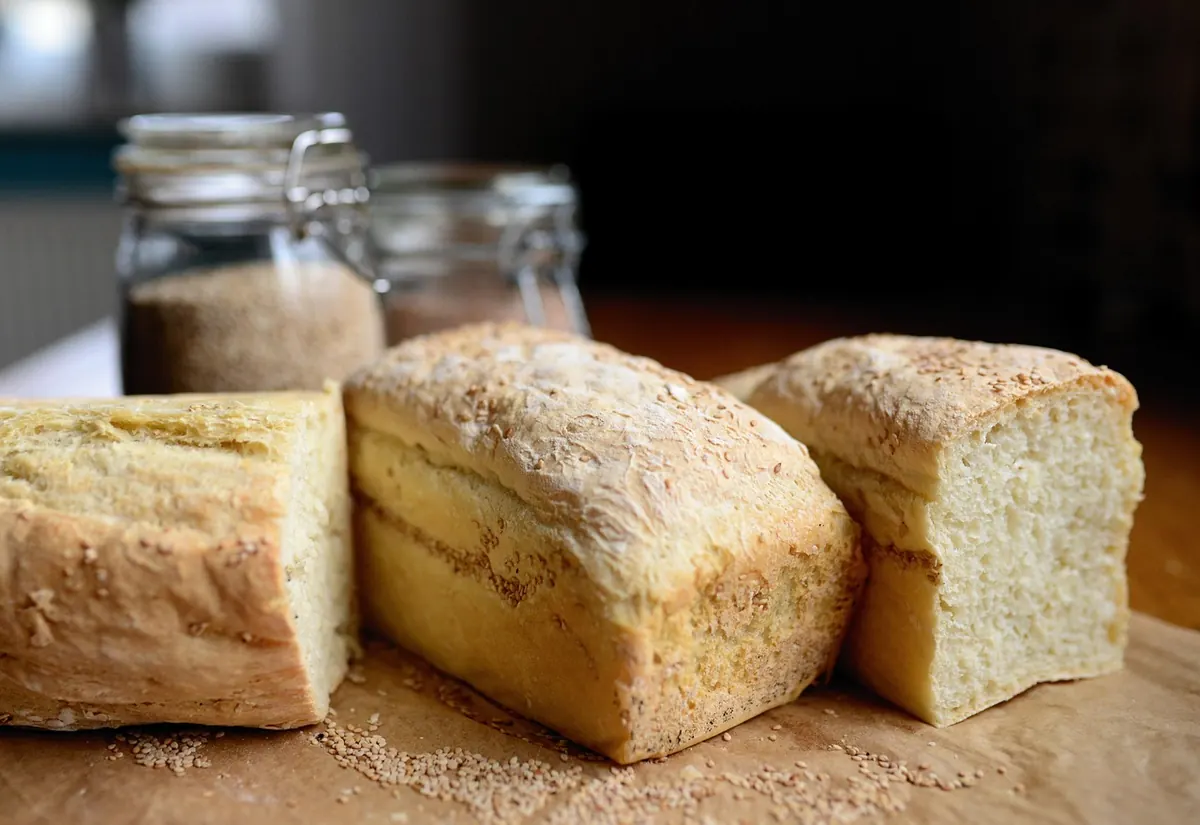
There is a particular satisfaction in pulling a loaf from your own oven that looks like it came from a bakery two streets away, especially when all you did the night before was stir flour and water together with a spoon. This no-knead country loaf is built for that moment. The dough is wet, slack and slightly unpromising at first; twelve hours later it is bubbly and alive, and shaping it takes about ninety seconds. Read the whole recipe once before you start, then set the timing around your own sleep rather than the other way around.
The Method in Plain Terms
Kneading is one way to develop gluten. Time is another. When flour and water sit together long enough, proteins link up on their own, and a very small amount of yeast keeps the process slow enough that the dough gains structure without you touching it. That is the entire trick behind no-knead bread: high hydration, a long bulk ferment at cool room temperature, and a hot oven with steam.
You need less equipment than you might expect. A digital scale matters more than anything else here, because volume measurements of flour vary enormously between one scoop and the next. Beyond that: a large bowl, a spoon, a cloth or proofing basket, and a heavy lidded pot — a Dutch oven or any ovenproof casserole with a lid. A bench scraper helps, but a spatula will do.
Ingredients for One Loaf
This makes a single round loaf of roughly 900 g, enough for a week of toast and sandwiches.
- 400 g strong white bread flour — look for 12% protein or higher on the bag.
- 100 g wholemeal or dark rye flour — for flavour and colour. Use 500 g white if you prefer a lighter loaf.
- 375 g water, roughly 75% hydration. Cool tap water is fine; in a warm kitchen, use cold water.
- 10 g fine sea salt. Do not reduce this much — it is a flavour issue, not a health one, and the dough needs it.
- 1 g instant yeast, about a quarter of a teaspoon. Yes, that little. If your kitchen sits above 24°C, use a scant pinch.
The Evening Mix, Then Sleep
Aim to mix at around nine or ten in the evening. If you are out late, mix when you get in; the dough is not fussy about the clock, only about the total hours.
- Weigh the flours and water into a bowl and stir until no dry flour remains. It will look rough and shaggy. Cover and leave for twenty minutes if you have the time — this short rest makes the next step easier.
- Sprinkle the salt and yeast over the surface, then work them in by folding the dough over itself with a wet hand or a sturdy spoon, about eight folds, turning the bowl a quarter each time. The dough should feel sticky and loose, more like a thick batter than a kneadable ball.
- Cover the bowl with a plate or a shower cap and leave it on the counter overnight, somewhere out of direct sun and away from a radiator.
What Overnight Should Look Like
Twelve to sixteen hours at 18–20°C is the sweet spot. Warmer rooms push the ferment faster; a cold kitchen in winter might need eighteen hours. Judge the dough, not the recipe.
Ready dough has a domed, slightly quilted surface covered in small bubbles, and it wobbles when you shake the bowl. It will have risen to roughly two and a half times its original volume and smell faintly of yoghurt. Press a wet finger in about two centimetres: the dent should fill in slowly and not completely. If it springs back at once, give it another hour. If the dough has collapsed, smells sharp and looks soupy, it has gone too far — bake it anyway as a flatbread or focaccia rather than throwing it out.
Shaping: A Ninety-Second Job
Flour your counter generously, then scrape the dough out in one movement. Try not to punch it down; those bubbles are the open crumb you are after. Shape it into a loose round by folding the edges toward the centre, then leave it uncovered for twenty minutes. This rest relaxes the gluten so the final shape holds without fighting back.
For the final shape, dust the top with flour, flip the dough over, and fold the far edge, near edge and both sides into the middle. Turn it seam-side down and drag it toward you across the unfloured counter with cupped hands, building tension across the surface. It should tighten into a neat ball within a few pulls.
The visual cue for the second rise
Place the loaf seam-side up in a floured cloth-lined bowl or a banneton and let it proof at room temperature for one to two hours. Press it lightly with a floured finger: the dough should feel soft and marshmallowy, and the dent should spring back slowly and only partly. Underproofed dough springs back immediately and bakes up tight; overproofed dough feels fragile and leaves a dent that stays.
Into the Oven: Heat and Steam
Preheat the lidded pot at 250°C (480°F) for at least forty-five minutes. This step is not optional — a cold pot gives a pale, thick crust.
Turn the loaf seam-side down onto baking parchment, score it once down the middle with a sharp blade at a shallow angle, and lower it into the hot pot. Bake covered for twenty minutes, which traps the dough's own steam and lets it expand fully, then remove the lid, drop the heat to 230°C (450°F) and bake another twenty to twenty-five minutes until deeply browned. A thermometer in the centre should read 96–99°C. Without a Dutch oven, bake on a preheated tray with a shallow pan of boiling water on the shelf below.
When Something Goes Wrong
- Flat, spreading loaf: usually an overproofed or over-hydrated dough, or a shape that lost tension. Tighten the final shape and shorten the second rise.
- Dense, tight crumb: often underproofed dough baked too early. Wait for the bubbles and the slow-springing dent.
- Gummy centre: the loaf was cut hot, or it needed five more minutes in the oven. Check the internal temperature.
- Pale crust: the pot or oven was not hot enough, or the loaf was underbaked after the lid came off. Push the final stage darker than feels comfortable.
Cooling and the Second Loaf
Resist the knife. Bread is still setting as it cools, and cutting into a hot loaf releases steam that turns the crumb sticky. An hour is the minimum; two is better, and it will still be warm enough to be worth the wait.
Once cool, store the loaf cut-side down on a board or in a paper bag — plastic softens the crust within hours. Slices frozen on the day of baking and toasted from frozen are far better than a loaf left to stale on the counter.
Then bake it again within the week. Change one thing at a time: a little more water, an extra hour of ferment, ten degrees hotter. Your kitchen has its own climate, and the second loaf is always better than the first because you will finally know what your dough looks and feels like when it is ready.
Photo: congerdesign / Pixabay