Beginner's Guide to Autolyse: Why Resting Flour and Water Improves Crumb
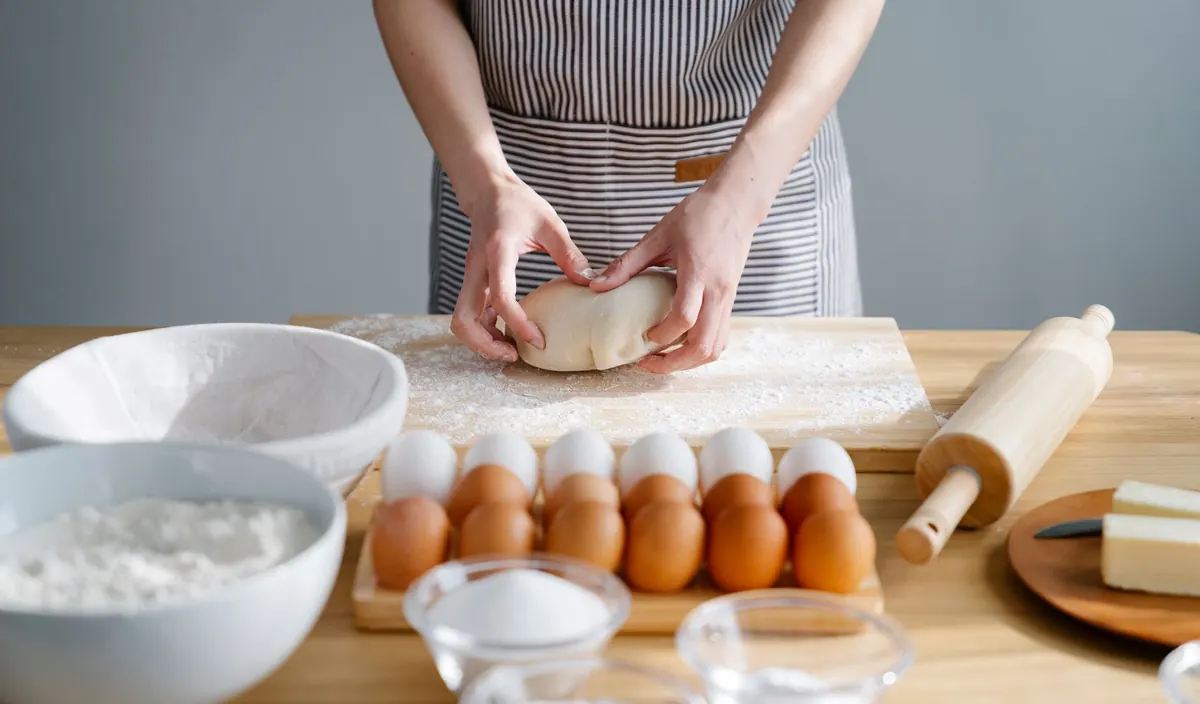
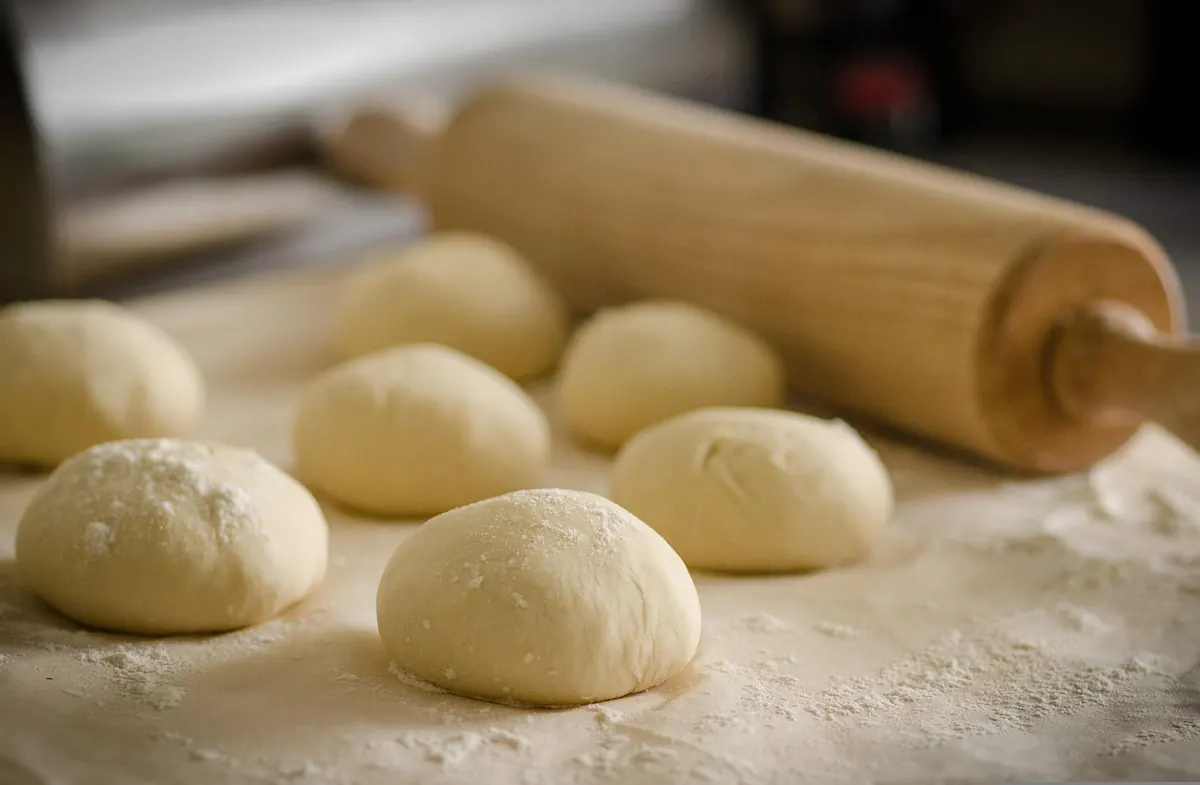
Flour and water alone in a bowl, doing nothing for forty minutes. That is autolyse, and it may be the cheapest improvement available to a home baker: no new equipment, no extra skill, no special flour. You hold back the salt and the yeast, stir the flour into the water, cover the bowl and walk away. What you come back to is a dough that is already softer, smoother and more willing to stretch than it was half an hour earlier.
None of this is complicated. But the small details — how much water you hold back, how long you rest, what you do afterwards — change the result. Here is what is actually happening in the bowl, and how to fit the rest into an ordinary baking day.
What Autolyse Actually Means
Autolyse is a rest of flour and water only, before salt, yeast or starter join the bowl. The word comes from French baking practice and describes flour hydrating and beginning to break down on its own. Nothing is fermenting yet. No gas is being produced. The dough is not rising; it is soaking.
Two clarifications save a lot of confusion. Autolyse is not a substitute for kneading or folding — the gluten still needs mechanical work later, just less of it. And a rest that includes your sourdough starter is usually called a fermentolyse: it works well, but it is a different thing, because fermentation and acidity begin changing the dough while it sits.
What Happens While the Dough Rests
Water finds its way in
Flour straight from the bag hydrates unevenly. The outside of each particle grabs water quickly while the centre stays dry, which is why a freshly mixed dough feels lumpy and why you sometimes find dry patches an hour later. Given twenty or thirty minutes with no agitation, water spreads through the flour by itself. The dough becomes evenly moist, and the awkward, crumbly stage of mixing largely disappears.
Gluten starts forming without you
The two main wheat proteins, glutenin and gliadin, need water to link into gluten. As they hydrate, they begin to bond spontaneously. Gentle enzyme activity also loosens the network slightly, which is why rested dough feels so much more extensible: it stretches further before it tears. You are not building strength here so much as giving the flour a head start, and the kneading or folding you do afterwards is more efficient because of it.
Less mixing, more colour
A dough that comes together in three minutes instead of ten is less exposed to air. That matters more than it sounds. Heavy mixing oxidises the pigments in flour, and a lighter touch keeps the crumb creamier rather than stark white, with a rounder wheat flavour. On a plain white loaf, with nothing else to hide behind, you notice it.
Salt is held back for a reason: it tightens the gluten and slows the enzyme activity that makes the dough so relaxed, so adding it early cancels much of the benefit. Yeast is held back because a long warm rest with commercial yeast would start fermentation before you are ready to track it.
How Autolyse Changes the Crumb
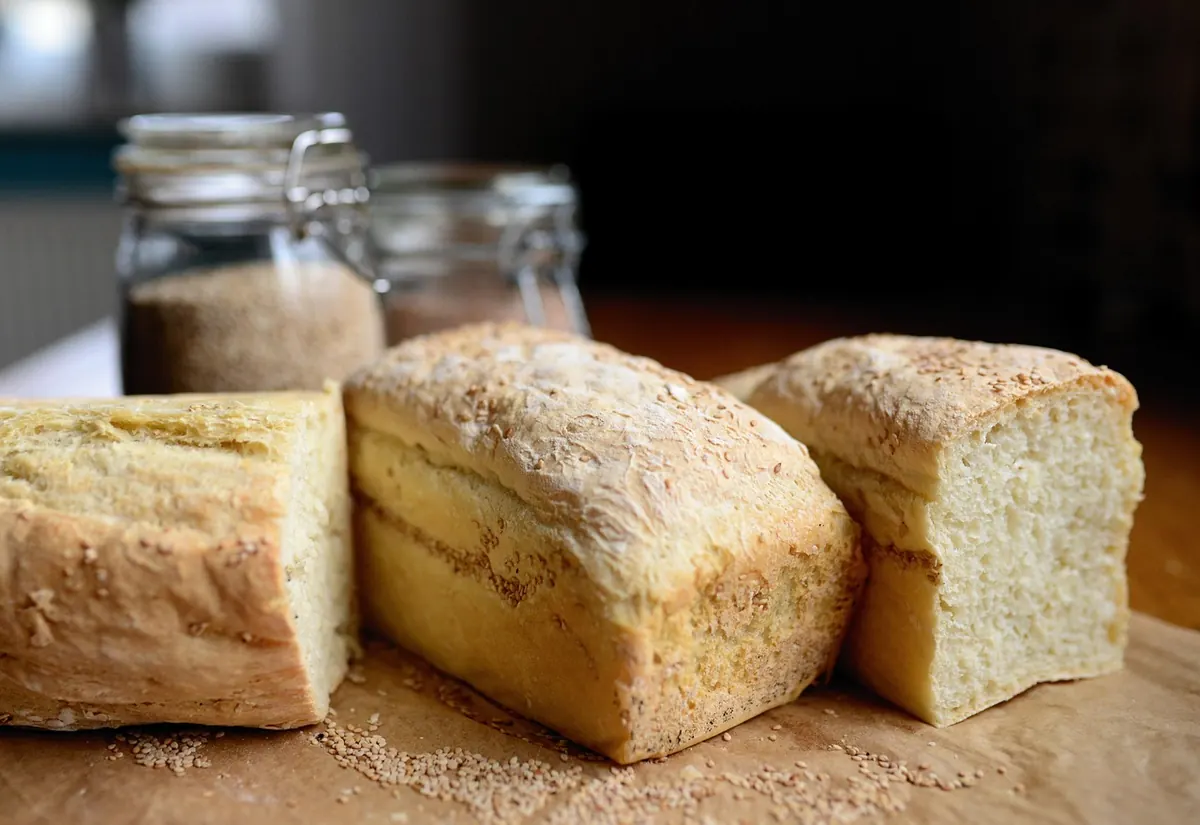
Good hydration plus a relaxed, well-formed gluten network means dough that holds gas well and stretches without fighting back. In practice that shows up as a more open, uneven crumb, a thinner crust and an interior that stays soft a little longer. The dough is also easier to shape: it extends under your hands instead of springing closed. What autolyse will not do is rescue weak fermentation or a badly shaped loaf. It improves a good process; it does not replace one.
A Beginner Timeline for a Basic Lean Dough
This is a plain white dough at 70 per cent hydration, a sensible place to start. It makes one large loaf.
- 500 g strong white bread flour, 12–13 per cent protein
- 350 g water, room temperature
- 10 g fine sea salt
- 3 g instant yeast, or 100 g active sourdough starter
Hold back 25 g of the water for later. The rest goes into the autolyse.
- 0:00 — Mix flour and water only. Combine the flour with 325 g of the water. Stir with a spatula or your hand just until no dry flour is left. It will look shaggy and rough. Cover the bowl.
- 0:00–0:40 — Rest at room temperature. Forty minutes is a good default. In a warm kitchen, thirty is plenty; in a cold one, give it an hour.
- 0:40 — Add salt, yeast and the remaining water. Dissolve the salt in the held-back water first, then add it with the yeast. Squeeze the dough through your fingers until everything is evenly incorporated, about two minutes. If you are using sourdough starter, add it now too.
- 0:50 — Brief knead or fold. Two to three minutes of slapping and folding on the counter, or a set of stretch and folds in the bowl, is usually enough. The dough should feel smooth and elastic, not tight.
- 1:00–3:00 — Bulk fermentation. Leave it covered and give it three or four sets of stretch and folds, spaced about thirty minutes apart, across the first two hours. Let it finish rising until it is roughly 60–75 per cent larger and domed.
- Then shape, proof and bake. Shape, proof for 45–60 minutes at room temperature or overnight in the fridge, and bake at 230–250 °C with steam for the first fifteen minutes.
Timings are a guide, not a schedule. Dough temperature, room temperature and the flour itself all shift things, so judge the dough by how it feels and how much it has grown.
Matching the Rest to Your Flour
White bread flour
Thirty to sixty minutes is the sweet spot. Longer is fine if you get distracted, up to a couple of hours at cool room temperature.
Wholegrain and rye
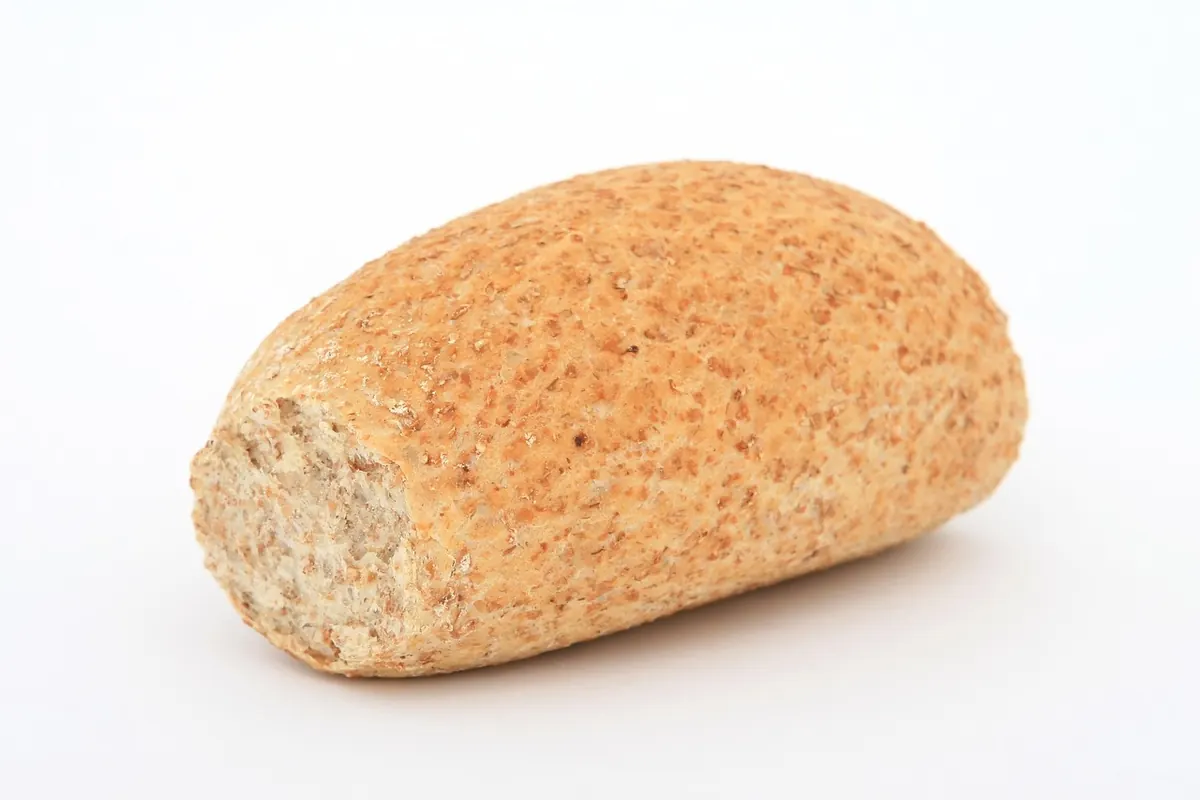
These benefit a great deal. Bran is sharp and absorbs water slowly, and a rest softens it so it stops cutting through the gluten. Thirty to sixty minutes works well. Do not leave coarse wholemeal for four hours, though — the enzymes are active and the dough can turn slack and sticky.
Softer, lower-protein flours
Plain flour, some heritage wheats and pastry blends have less gluten to work with and can go from relaxed to soupy. Keep the rest to twenty or thirty minutes and watch the dough rather than the clock.
Mistakes That Undo the Benefit
- Salting early. The most common slip. Set the salt in a small dish where you cannot mistake it for anything else.
- Using all the water. Holding a little back gives you room to adjust, and dissolving salt in it helps the salt distribute evenly.
- Leaving the bowl uncovered. A dry surface forms a skin that turns into streaks in the finished loaf. Cover with a plate, a shower cap or a damp cloth.
- Autolysing for hours in a hot kitchen. Twenty-four degrees is fine; thirty-two is not.
- Expecting miracles. If your starter is sluggish or your bulk is too short, the rest will not fix the loaf.
Some doughs gain little and can reasonably skip it. Enriched doughs heavy with butter, sugar and eggs are dominated by fat and follow a different timetable, and quick same-day recipes in very small batches can go straight to mixing. If you already have a reliable method and limited time, leaving out the rest costs you a little extensibility, not the loaf.
Start With Thirty Minutes
Do not overhaul your routine. Next time you bake, weigh the flour and water into a bowl, stir, cover it and set a timer for thirty minutes before you
Photo: Felicity Tai / Pexels